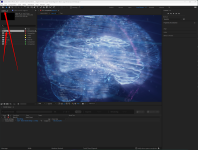
To start a render in Adobe After Effects, follow these steps to set up your project for rendering and export your finished project:
Select the Composition
Navigate to the "Project" panel and select the composition that you wish to render.

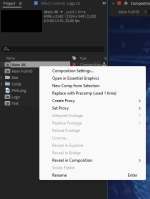
Add to Render Queue

When you right click your project you may not see Add to render quae but you can do it with menu.
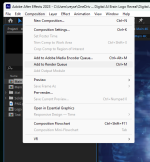
With your composition selected, go to `Composition` > `Add to Render Queue`. This will add your composition to the render queue. You can also press `Ctrl`+`M` on Windows or `Cmd`+`M` on macOS.

Render Settings
In the "Render Queue" panel, you will find two main settings: "Render Settings" and "Output Module." Click on "Render Settings" to configure your render preferences, such as quality, resolution, and more.

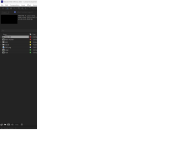
Then you need to determine output file as below:

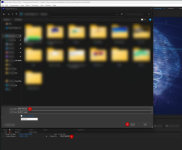
As last step click to RENDER button
Then Rendering process will be started.

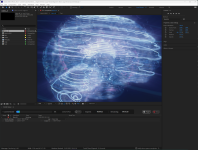
When it finish you can watch video as below:
Select the Composition
Navigate to the "Project" panel and select the composition that you wish to render.
Add to Render Queue
When you right click your project you may not see Add to render quae but you can do it with menu.
With your composition selected, go to `Composition` > `Add to Render Queue`. This will add your composition to the render queue. You can also press `Ctrl`+`M` on Windows or `Cmd`+`M` on macOS.
Render Settings
In the "Render Queue" panel, you will find two main settings: "Render Settings" and "Output Module." Click on "Render Settings" to configure your render preferences, such as quality, resolution, and more.
Then you need to determine output file as below:
As last step click to RENDER button
Then Rendering process will be started.
When it finish you can watch video as below: